
0
Owner's of the Electrolux Range Electrolux Electric Slide-In Range gave it a score of 0 out of 5. Here's how the scores stacked up:
16
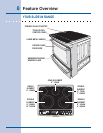
Getting Started
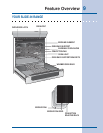
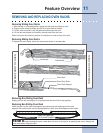
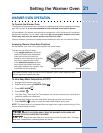
OVEN LIGHT
Your appliance includes “theater” style oven lighting feature that gradually lights both the
upper and lower oven interiors to full brightness. The upper oven is equipped with 2 halogen
lights and the lower oven is equipped with 1 incandescent light. The oven lights will turn on
automatically when the oven door is opened. The oven light may be turned on when the door
is closed by using the oven light pad located on the control panel. The oven light key will
toggle the lights in both ovens at the same time at full intensity.
To toggle the Oven Lights ON and OFF:
1. Press OVEN LIGHT .
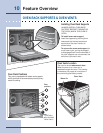
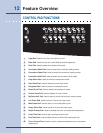
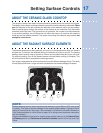
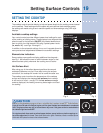
CONTROL LOCK
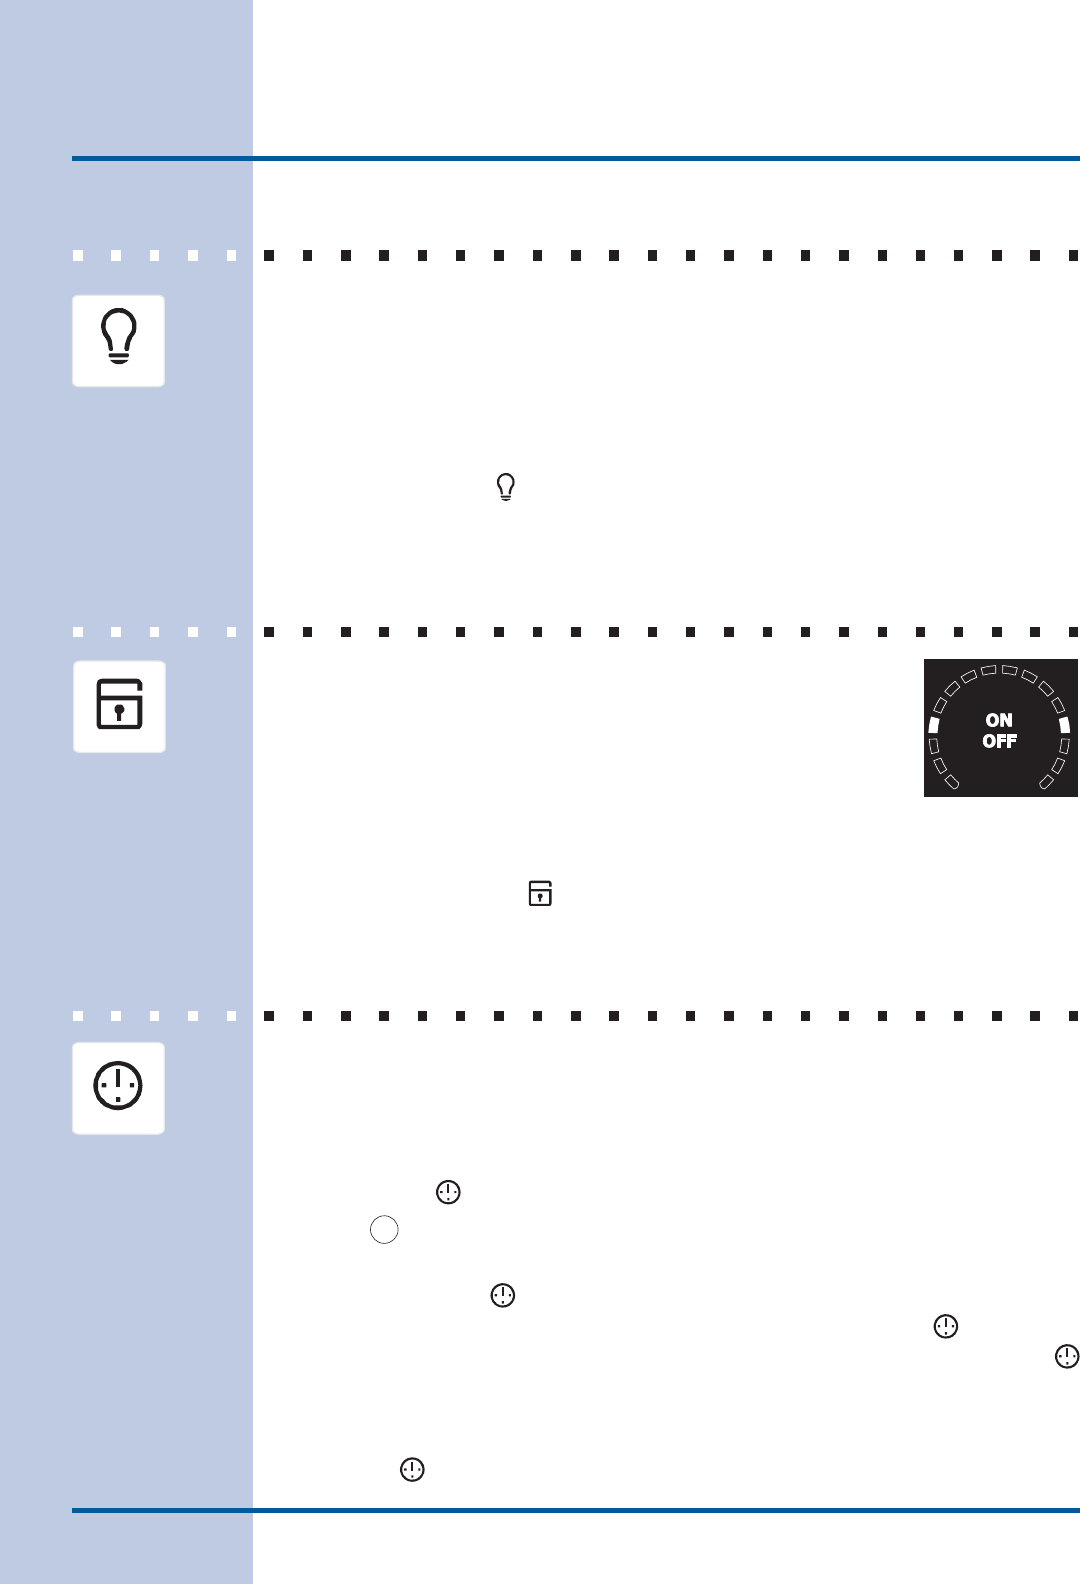
The Control Lock feature automatically locks the upper oven door,
control panel and the cooktop. The Control Lock is only allowed when
the oven and the cooktop are turned OFF (not active). DOOR LOCK will
fl ash in the display for 20 seconds or until the door has fi nished locking.
Once the door has been locked, Loc message will appear in the upper
display and lights (Fig. 1) will appear in the cooktop displays. Do not
attempt to open the oven door while DOOR LOCK is fl ashing.
To toggle the Control Lock ON and OFF:
1. Keep CONTROL LOCK pressed for 3 seconds.
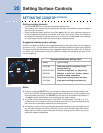
SETTING THE KITCHEN TIMER
This unit is equipped with 2 Kitchen Timers which serves as extra timers in the kitchen that
will beep when the set time has run out. It does not start or stop cooking. The Timer feature
can be used during any of the other oven control functions and cooking modes.
To set the Timer (example for 5 minutes):
1. Press TIMER . “00:00” will appear in the display.
2. Press
5
pad to set the timer to 5 minutes. The pads
+
hi
or
-
lo
can also be pressed to
raise or lower the actual time displayed.
3. Press again TIMER to accept and start the countdown.
4. When the set time has run out, “00:00” will be displayed and the TIMER pad will fl ash.
The clock will sound a chime that will be repeated at regular intervals until the TIMER
pad is pressed.
To cancel the Timer before the set time has run out:
Press TIMER . The display will return to the time of day.
Fig. 1


Find Your Products By Category
Please Login
